RSS

Blog posts of '2025' 'October'

Modern vs. Traditional Splashback Designs: Which Fits Your Home?

Modern vs. Traditional Splashback Designs: Which Fits Your Home?


In today’s design-driven world, the kitchen has evolved beyond a space for cooking — it’s now the heart of the home, a statement of style and personality. One design element that defines that character is the splashback. It’s not just a protective surface; it’s a reflection of your home’s identity.

So, the big question remains: Should you go modern or stay traditional?


The Essence of Modern Splashback Designs

Modern splashbacks are all about sleek sophistication and minimalism. They’re designed to create a clean, seamless look that enhances the sense of space.

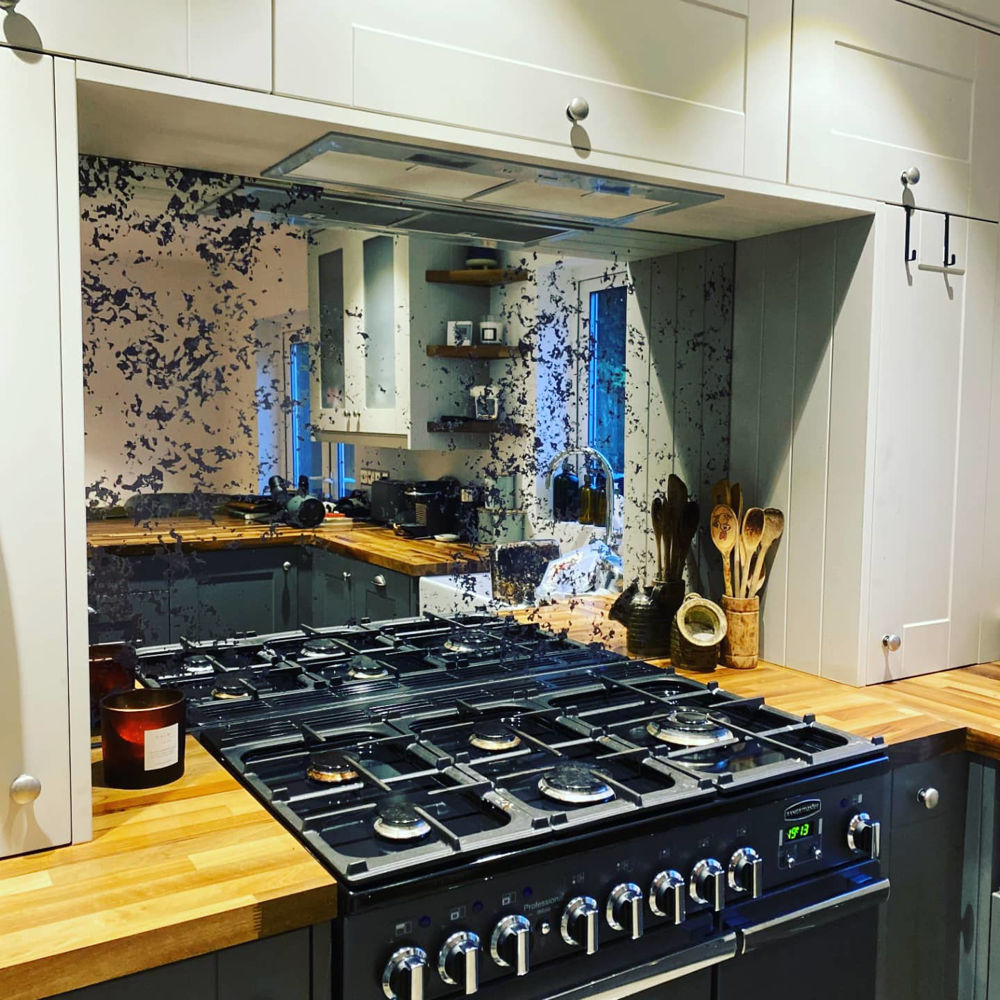
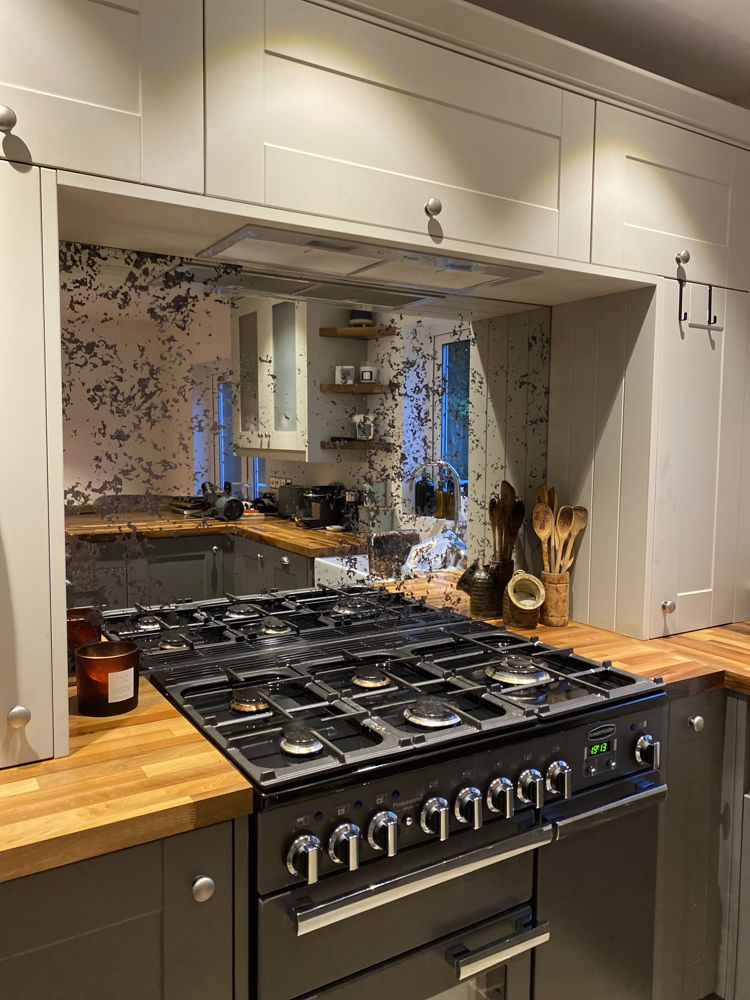
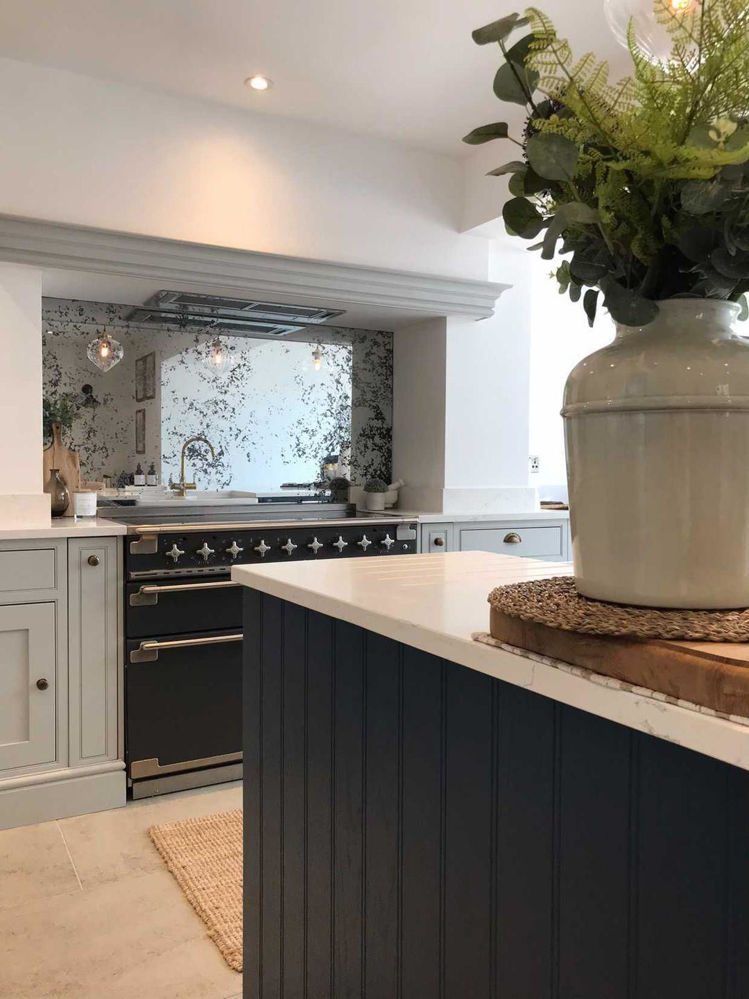
Materials such as toughened glass splashbacks, acrylic splashbacks, stainless steel, and even mirrored finishes dominate this category. These options reflect light beautifully, making small kitchens feel open and bright.


Key Features of Modern Splashbacks:

Seamless, high-gloss surfaces with minimal joints

Easy to clean and maintain — no grout lines to worry about

Available in bold colors, prints, or subtle neutrals

Perfect for open-plan homes and contemporary interiors


Modern splashbacks pair effortlessly with sleek cabinetry, quartz countertops, and metallic fixtures, creating a futuristic, upscale vibe that feels fresh and polished.

For inspiration, explore the printed splashback collection for bold, design-led options.


The Timeless Charm of Traditional Splashback Designs

While modern designs bring the future into your home, traditional splashbacks celebrate the past — warm, detailed, and full of personality.

They often feature tile-effect splashbacks, marble patterns, or textured glass, creating an atmosphere of timeless elegance and craftsmanship.


Key Features of Traditional Splashbacks:

Decorative patterns and handcrafted looks

Warm tones and natural materials

Classic subway tiles, mosaics, or stone textures

A sense of comfort and familiarity

Traditional splashbacks excel in country-style kitchens, vintage homes, or spaces with wood finishes. They bring a tactile, homely charm that never goes out of fashion.


Modern vs. Traditional: Head-to-Head


FeaturesModern Splashback Traditional Splashback 
Design styleMinimalist, clean, reflectiveDetailed, warm, textured
Material Glass, acrylic, stainless steelTile, marble, stone
MainteinanceLow maintenance, easy-cleanRequires more upkeep
CustomisationBold prints, digital designsElegant patterns, limited prints
Cost range Moderate to highVaries widely by material


Both styles have their strengths — it all depends on your home’s overall tone and your personal taste.


Choosing the Right Fit for Your Home

When selecting a splashback, think beyond trends. Consider how it complements your cabinets, countertops, and flooring.

Go Modern if your home features clean lines, chrome fixtures, and an open, airy layout. Check out the Acrylic Range for a cost-effective, contemporary look.


Stay Traditional if you prefer a cozy aesthetic with classic details and natural textures. Browse the Tile-Effect Collection for authentic styles with modern performance.

Or, blend both worlds — a growing trend where homeowners use modern materials with traditional patterns for a perfectly balanced look.


For real-world examples, visit their image gallery to see how each style transforms a space.


Final Thoughts

Your splashback isn’t just a finishing touch — it’s an expression of your design philosophy. Whether you lean towards the crisp elegance of glass or the rustic warmth of tile, your choice should resonate with your home’s story.


Ready to elevate your kitchen or bathroom design? Discover the full spectrum of styles at DIY Splashbacks — from toughened glass to tile-effect and acrylic options.

Each piece is custom-cut, made in the UK, and engineered for long-term durability. Whether you’re aiming for a sleek, modern look or timeless traditional charm, DIY Splashbacks has the design tools and product range to make your vision a reality.


Start browsing the full range of styles and materials at DIY Splashbacks today.

Why Glass and Acrylic Splashbacks Are Better: The Clear Winners for Modern Kitchens

Why Glass and Acrylic Splashbacks Are Better: The Clear Winners for Modern Kitchens


When it comes to designing the perfect kitchen, every detail matters — and your splashback can completely transform how your space looks and feels. Among the many materials available, glass and acrylic splashbacks are leading the way in both style and practicality. Here’s why they’re the better choice for modern homes.


1. Sleek, Modern Aesthetic

Glass and acrylic splashbacks offer a smooth, reflective finish that makes any kitchen look clean and contemporary. Unlike tiled walls, which require grout lines, these materials create a seamless surface that enhances light and space.


If you love bold, modern interiors, explore the Coloured Splashbacks collection at DIY Splashbacks — featuring over 500 shades to perfectly match your style.


2. Endless Colour & Design Options

One of the biggest advantages of glass and acrylic is the variety of design and colour possibilities.

Glass splashbacks can be back-painted in virtually any colour, offering a luxurious, glossy look.

Acrylic splashbacks are lightweight, available in vibrant shades, and even allow for custom printed designs.


Need help deciding on a shade? Check out the guide on Choosing the Perfect Splashback Colour for inspiration.


3. Easy to Clean & Hygienic

Unlike tiles, which can trap grease and dirt in grout lines, glass and acrylic surfaces are non-porous. A simple wipe with a damp cloth keeps them sparkling clean.


For long-term maintenance tips, visit How to Keep Your Splashback Clean: All You Need to Know.


4. Durable and Heat-Resistant

Toughened glass is highly resistant to heat, making it ideal for use behind hobs and cooktops. 

Acrylic is impact-resistant and flexible — perfect for walls away from direct heat sources.


To understand the difference in quality and durability, you can explore Understanding Splashback Manufacturing Standards.


5. Quick and Easy Installation

Both materials are known for simple, clean installation.

Glass panels are custom-cut to fit your exact wall dimensions.

Acrylic sheets are lightweight and easy to handle, making them great for DIY projects.


Curious about how it’s done? Read How Are Glass Splashbacks Fitted: A Complete Installation Guide for step-by-step details.


6. Adds Value to Your Home

A professionally fitted glass or acrylic splashback not only looks amazing — it also adds value to your kitchen. Its sleek finish, durability, and easy upkeep make it an attractive selling point for future buyers.


In Summary

Whether you choose glass for its luxurious shine or acrylic for its affordability and flexibility, both materials deliver exceptional performance and style.


Explore the full range of Glass and Acrylic Splashbacks available at DIY Splashbacks to find the perfect fit for your home.


Tip:

For areas behind your hob, choose toughened glass.

For other walls or budget-friendly upgrades, acrylic is an excellent alternative.

Colored Splashbacks: Choosing the Perfect Shade for Your Kitchen

Coloured Splashbacks: Choosing the Perfect Shade for Your Kitchen

When designing a modern kitchen, colored splashbacks have become a stylish and practical choice. They don’t just protect your walls from spills and stains — they also bring personality, depth, and energy to your space. But with endless colour options available, how do you choose the perfect shade for your kitchen splashback?


Here’s a guide to help you pick the right hue and finish to elevate your kitchen design.

1. Match Your Splashback Colours to Your Kitchen Style

Your splashback should blend seamlessly with your kitchen’s existing colour scheme — cabinets, benchtops, flooring, and appliances all play a role.

Neutral kitchens (white, grey, or black) look stunning with bold splashback colours like emerald green, navy blue, or ruby red.

Warm-toned kitchens (timber, beige, or cream) pair beautifully with earthy splashback colours such as olive, bronze, or burnt orange.

Cool-toned kitchens (grey, blue, or white) shine with soft pastels or metallic finishes for a light-reflective, airy feel.


 Pro Tip: Always test your colour choices under your actual kitchen lighting before finalizing — the same shade can look very different depending on the light.


2. Consider Lighting for Your Kitchen Splashback

Lighting can dramatically change the look of your glass splashback or acrylic splashback colour.

Natural light makes light or bright colours feel spacious and clean.

LED or warm artificial lighting can deepen colours or add a cozy glow.

If your kitchen has limited natural light, opt for glossy or reflective splashback finishes — they help bounce light around and make the room feel bigger.


3. Choose Colours That Match Your Mood

The colour you choose for your splashback influences the overall feel of your kitchen. Here’s a quick mood guide:

Blue or green splashbacks: Calm, clean, and refreshing — ideal for relaxing kitchens.

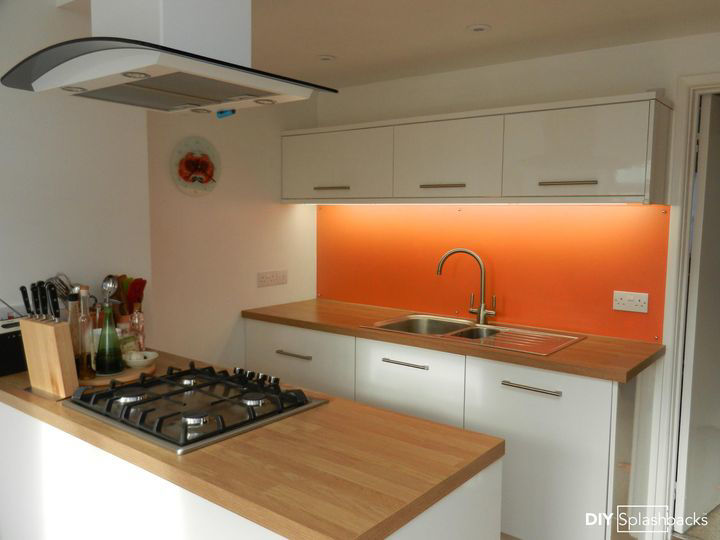
Red or orange splashbacks: Energetic and inviting — perfect for lively, social spaces.

Black or charcoal splashbacks: Sleek and modern — great for industrial or contemporary kitchens.

White or cream splashbacks: Timeless and versatile — suits almost any kitchen style.

Your kitchen is the heart of your home, so pick a splashback colour that feels right for you.


4. Think Beyond Colour: The Right Finish Matters

Even the perfect color can fall flat if the finish doesn’t suit your kitchen’s personality.

Glossy finishes: Reflect light beautifully and are easy to clean — ideal for glass splashbacks.

Matte finishes: Subtle and modern — great for minimalist or industrial looks.

Textured or metallic finishes: Add a unique, high-end touch.

Each material — glass, acrylic, or steel splashbacks — interacts with light differently, so it’s worth considering how the finish will look in your space.


5. Test Before You Order

Before committing to your new splashback, ask your supplier for colour samples or mini panels. View them under your kitchen’s actual lighting and alongside your cabinetry and benchtops. A small test now can save you from disappointment later.


Final Thoughts

Choosing the perfect colour for your kitchen splashback is about balancing design, lighting, and personal taste. Whether you go for a bold coloured glass splashback or a subtle neutral tone, the right choice will completely transform your kitchen — adding beauty, brightness, and personality.

Understanding Splashback Manufacturing Standards

Understanding Splashback Manufacturing Standards

When choosing a splashback — whether for a kitchen, bathroom, or commercial space — most people focus on the design, color, and finish. But behind every beautiful splashback lies an important foundation: manufacturing standards. Understanding these standards not only ensures product quality but also guarantees safety, durability, and long-term satisfaction.


In this post, we’ll unpack what splashback manufacturing standards mean, why they matter, and what those strange codes like EN 12150 and ISO 8442-2 actually stand for.


1. What Are Splashback Manufacturing Standards?


Manufacturing standards are official guidelines that describe how materials should be made, tested, and certified. These standards ensure that splashbacks meet consistent levels of safety, strength, and quality, regardless of the manufacturer.


Each material — glass, acrylic, or stainless steel — has its own set of standards.


2. Key Standards for Different Splashback Materials


a. Glass Splashbacks

Glass splashbacks are sleek, reflective, and easy to clean. But they must also be toughened to handle heat and impact safely.

EN 12150 – Thermally Toughened Safety Glass:

A European standard that ensures glass is properly heat-treated so it’s 4–5 times stronger than normal glass and breaks into small blunt pieces instead of sharp shards.

AS/NZS 2208 – Safety Glazing Materials (Australia/New Zealand):

Confirms glass meets safety performance and impact resistance standards for architectural use.

BS 6206 – Safety Glass for Buildings (UK):

A British standard that tests how glass performs under impact and temperature stress.


Recommended thickness: 6mm for regular kitchen splashbacks; 8mm for larger or high-heat areas.


b. Acrylic Splashbacks

Acrylic panels are lightweight, colorful, and modern-looking. But since they’re plastic-based, they follow a different set of quality and fire safety standards.

ISO 7823-1 – Cast Acrylic Sheets:

An international standard defining the quality, strength, and clarity requirements for acrylic sheets.

EN 13501-1 – Fire Classification of Construction Products:

A European standard that classifies materials based on their fire resistance and smoke production levels.

Acrylic is heat-resistant but not heatproof, so it should never be placed directly behind gas burners without a heat shield.


c. Stainless Steel Splashbacks

Stainless steel splashbacks are durable, hygienic, and easy to clean, making them popular in commercial kitchens.

EN 10088 – Stainless Steel Grades and Composition:

A European standard that specifies which metals (like chromium and nickel) must be used to make corrosion-resistant stainless steel.

ISO 8442-2 – Materials for Food Contact:

An international standard confirming that the metal is safe for surfaces that might touch food or steam, ensuring hygiene and safety.


Most high-quality splashbacks use 304 or 316-grade stainless steel for superior resistance to heat, moisture, and cleaning agents.


3. Why These Standards Matter

Knowing what these standards mean helps you:

. Ensure safety: Materials can withstand heat, impact, and cleaning chemicals.

. Verify durability: Prevents cracking, warping, or corrosion.

. Stay compliant: Meets local building codes and insurance requirements.

. Buy confidently: You know you’re getting a tested, certified product — not a cheap imitation.


4. How to Check If a Splashback Meets Standards


When shopping for a splashback:

Ask for certification documents showing compliance with EN, ISO, AS/NZS, or BS standards.

Check manufacturer datasheets or labels.

Confirm installation instructions — even high-quality materials can fail if installed incorrectly.


5. The Bottom Line

Splashback manufacturing standards aren’t just technical codes — they’re your guarantee of quality, safety, and performance. Whether you choose glass, acrylic, or stainless steel, understanding these labels helps you make smarter choices and avoid costly mistakes.


💡 Quick Reference: What the Codes Mean


EN-European Norm A European standard created by the EU for manufacturing, safety, and performance.

BS-British Standard UK’s official quality and safety guidelines.

AS/NZS-Australian/New Zealand Standard Regional safety and performance standards for building materials.

ISO-International Organization for Standardization Global standards used worldwide to ensure consistency and quality.

"Understanding Splashback Thickness: Does It Matter?"

"Understanding Splashback Thickness: Does It Matter?"

When renovating your kitchen or bathroom, you'll face countless decisions about materials, colors, and finishes. One question that often gets overlooked until you're deep into the selection process is: does splashback thickness actually matter? The short answer is yes—but perhaps not in the ways you might expect.


What Are the Standard Thickness Options?

Splashbacks typically come in several standard thicknesses, depending on the material you choose:

Glass splashbacks are usually available in 4mm, 6mm, and 10mm thicknesses. The 6mm option is the most popular choice for residential applications, offering a good balance between durability and cost.

Acrylic splashbacks generally range from 3mm to 6mm, with 4.5mm being a common standard. These are lighter than glass and can be easier to install.

Stone and tile splashbacks vary more widely, typically ranging from 6mm for thin porcelain tiles to 20mm or more for natural stone.

Durability and Impact Resistance

Thicker doesn't always mean better when it comes to durability. While a 10mm glass splashback will certainly be more impact-resistant than a 4mm version, the difference in everyday use is minimal. Both will withstand normal kitchen activities like splashing water, heat from cooking, and occasional bumps.

The real question is about your specific environment. In a busy family kitchen where pots and pans are constantly in motion, that extra thickness provides peace of mind. In a low-traffic bathroom or a meticulously organized kitchen, a standard thickness will perform perfectly well.

Visual Appearance and Edge Quality

Here's where thickness makes a surprisingly significant aesthetic difference. Thicker splashbacks, particularly glass ones, have more substantial edges that can create a more premium, luxurious appearance. The edge of a 10mm glass panel catches light differently and feels more solid to the touch than a 4mm panel.

This becomes especially noticeable if you're leaving edges exposed rather than tucking them behind cabinetry or benchtops. A polished edge on a thick glass splashback can become a design feature in itself.


Installation Considerations

Thickness directly impacts installation complexity and cost. Thicker, heavier splashbacks require more robust mounting systems and potentially more labor to install safely. A 10mm glass splashback can weigh significantly more than its 4mm counterpart, which might require additional structural support or specialized adhesives.

For DIY enthusiasts, thinner splashbacks are generally more forgiving. They're lighter, easier to handle, and require less specialized equipment to cut and install.

Heat Resistance

In kitchens, heat resistance is a practical concern. Interestingly, thickness has minimal impact on heat resistance for most materials. A 4mm toughened glass splashback will handle heat just as well as a 10mm version—the thermal properties depend more on the glass treatment than its thickness.

However, thicker materials do provide slightly better insulation between your wall and heat sources, which could matter if you're working with older walls or concerned about long-term heat damage.

Cost Implications

Unsurprisingly, thicker materials cost more. Not only is there more material involved, but shipping, handling, and installation costs all increase with thickness. For a standard kitchen splashback, the price difference between 4mm and 10mm glass might add several hundred dollars to your project.

You'll need to weigh whether the benefits—primarily aesthetic and the perception of quality—justify the additional expense for your particular situation.

The Practical Verdict

For most residential applications, standard thickness splashbacks (6mm for glass, 4.5mm for acrylic) are entirely adequate. They're durable enough for everyday use, cost-effective, and easier to install.


Consider upgrading to thicker options if:

You're creating a high-end, luxury kitchen where every detail matters

You have exposed edges that will be visible design features

You're in a commercial setting with heavy use

You want the added peace of mind of extra impact resistance


Conversely, thinner options work well when:

You're working within a tight budget

The splashback will be largely protected by cabinetry

You're installing it yourself

Weight limitations are a concern

Making Your Decision

Ultimately, splashback thickness does matter, but it's rarely the most important factor in your decision. Focus first on choosing the right material, color, and finish for your space. Then consider thickness as a secondary choice that fine-tunes your selection based on your budget, aesthetic preferences, and practical needs.

The best splashback isn't necessarily the thickest one—it's the one that balances all these factors to work perfectly in your specific space and situation. Don't let thickness become a decision-making bottleneck; treat it as one consideration among many in creating your ideal kitchen or bathroom.

How to Keep Your Splashback clean: All you need to know

How to Keep Your Splashback Sparkling Clean

Your kitchen splashback works hard to protect your walls from cooking splatters, grease, and water splashes. But all that protection means it needs regular cleaning to stay looking its best. Here's your complete guide to maintaining a spotless splashback with minimal effort.

Daily Maintenance: The 2-Minute Habit

The secret to a clean splashback isn't intensive scrubbing—it's consistency. After cooking, take just two minutes to wipe down your splashback with a damp microfiber cloth. This prevents grease and grime from building up and becoming stubborn stains. For an extra shine, follow up with a dry cloth to prevent water spots.

Weekly Deep Clean

Once a week, give your splashback a more thorough clean:

For Tile Splashbacks:

 Mix equal parts white vinegar and warm water in a spray bottle. Spray the solution onto your tiles, let it sit for 5-10 minutes, then wipe clean with a microfiber cloth. For grout lines, use an old toothbrush dipped in baking soda paste to gently scrub away discoloration.

For Glass Splashbacks:

Use a glass cleaner or make your own with one part white vinegar to four parts water. Spray generously, then wipe in a circular motion with a lint-free cloth or squeegee from top to bottom to avoid streaks.

For Stainless Steel:

Wipe with warm soapy water in the direction of the grain, then dry thoroughly. For stubborn marks, use a specialized stainless steel cleaner and buff to restore shine.

Tackling Stubborn Grease

Cooking grease is the splashback's biggest enemy. For built-up grease, create a paste using baking soda and a small amount of water. Apply it to greasy areas, let it sit for 15 minutes, then scrub gently with a non-abrasive sponge. The alkaline nature of baking soda cuts through grease naturally without harsh chemicals.

What to Avoid

Protect your splashback by steering clear of abrasive scrubbers, which can scratch surfaces, especially glass and stainless steel. Avoid bleach on colored grout as it can cause discoloration, and never use acidic cleaners on natural stone splashbacks as they can etch the surface.

Pro Tips for Long-Term Care

Install a range hood to reduce the amount of grease reaching your splashback in the first place. Keep a spray bottle of your preferred cleaning solution under the sink for quick access. Most importantly, don't let spills sit—the longer they remain, the harder they become to remove.

A clean splashback doesn't just look better; it's more hygienic and will last longer too.